Understanding Aperture
What is the aperture of a lens?
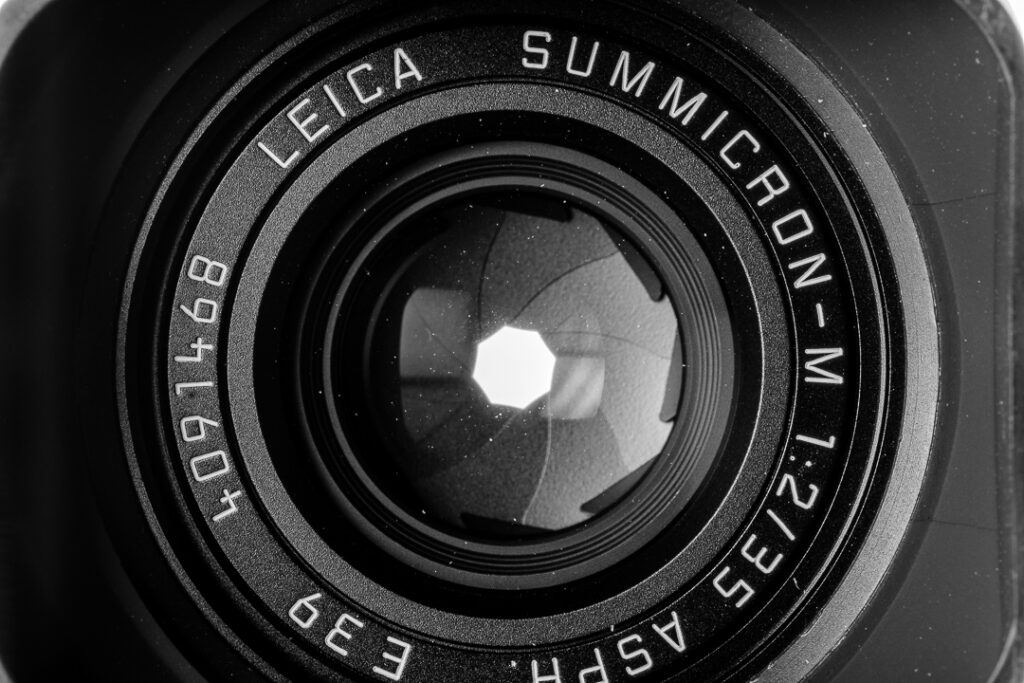
The aperture of your lens is a variable, segmented diaphragm, typically consisting of 7 or 9 blades, that is used to control the amount of light that gets to the camera's sensor or film plane. When adjusting the lens aperture you are changing the opening, or entrance pupil, of the lens which controls the light. The larger the entrance pupil the more light hits the sensor or film.
The various settings for the lens aperture are denoted by an "f-number" also known as an "f-stop". The smaller the f-number, the larger the opening. This can cause confusion with new photographers when trying to understand aperture. Why isn't ƒ/16 a larger opening than ƒ/4? The number is bigger so why isn't the opening? Let's dig a bit deeper... I promise we'll keep things simple.
The f-stop is a fraction, where the lens focal length is divided by the lens entrance pupil diameter. You can remember that by looking at how it's written: ƒ / 16. Just like any fraction, the larger the denominator, the smaller the amount, or in this case, the smaller the opening. This is why ƒ/16 is a smaller opening than ƒ/4. See the example above (Figure 1).
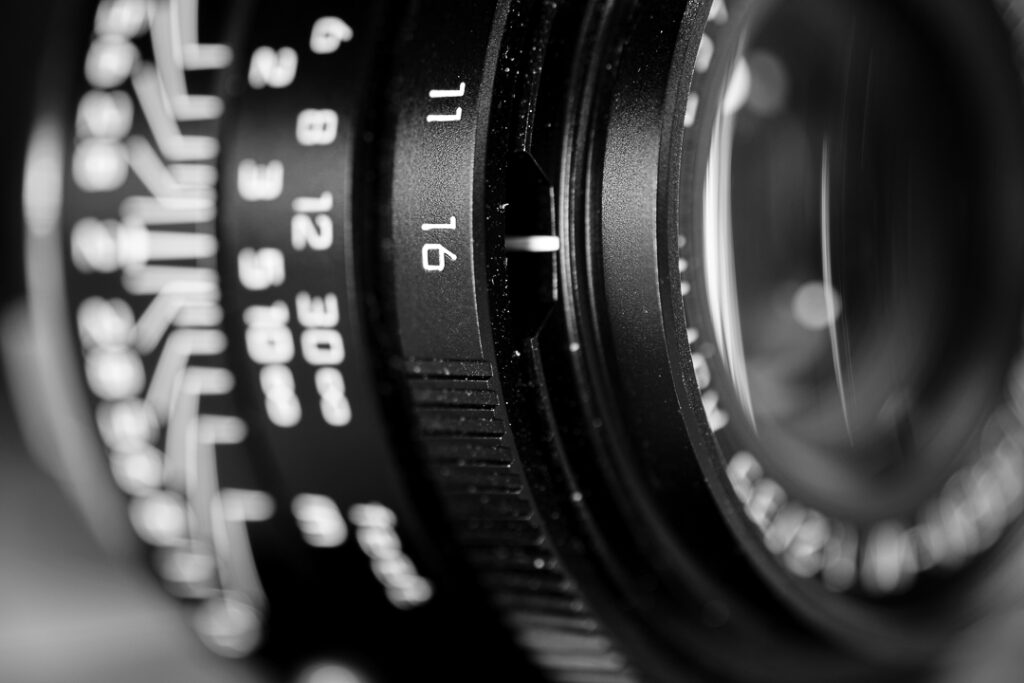
We can control the size of the diaphragm by moving the aperture ring on the lens itself, or by controlling it through the camera's menu or controls. Adjusting the aperture from a smaller to a larger opening, is called "opening up" the lens. When shooting at the largest opening of the lens (smallest f-number) you are shooting "wide open". Adjusting the aperture from a larger to smaller opening, is called "stopping down" the lens. Whew, that wasn't too complicated...was it?
We can control the size of the diaphragm by moving the aperture ring on the lens itself, or by controlling it through the camera's menu or controls.
What does the aperture do?
Controlling Exposure
The aperture is one of the three items used to control the exposure of a photograph. The other two items are shutter speed and ISO. These three items are often referred to as the exposure triangle (article coming soon). To maintain a given exposure, changing one of these items requires an adjustment of another, or combination of the other two.
For example, in the images below (Figure 2), both were shot with the same exposure, using an ISO of 160, but the aperture and shutter speed varies between the two images. The image on the left was shot with an aperture of ƒ/1.4 which was the widest, or largest, aperture for this particular lens (the lens was "wide open"). The shutter speed was 1/13th of a second. The image on the right was shot with the narrowest, or smallest, aperture of the lens which is ƒ/16 ("stopped down to ƒ/16"). Since the aperture ƒ/16 is quite a bit smaller than ƒ/1.4, to maintain the exact same exposure (or brightness of the image), I had to adjust the shutter speed to 8 1/2 seconds! Disregard the difference in blurriness between the images...that's next!
Controlling Depth of Field
As was noted earlier, the difference in blurriness between the two images is the difference in depth of field that each aperture provides. The depth of field is the area of acceptable sharpness in front of, and behind, your focus point. There are several things besides aperture that can affect the depth of field in a photo, like focus distance and focal length, but for this article we're just comparing the difference that the aperture setting makes with everything else being equal. By the way, that blurriness is call bokeh (bōkā - pronounced: "bow-kay").
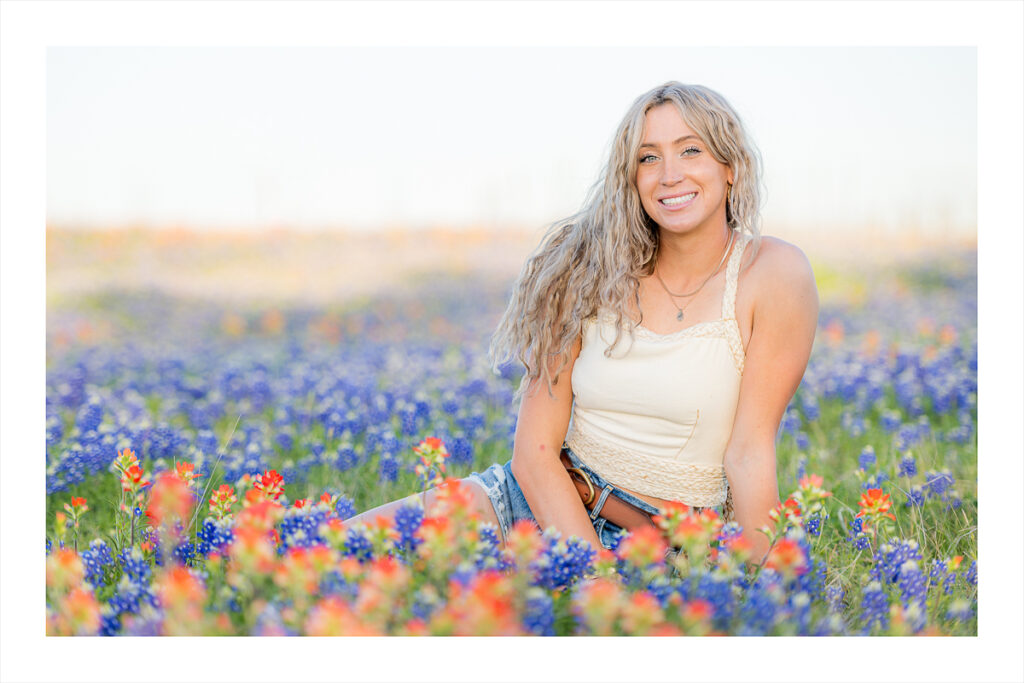
Since a viewer's eye tends to go to the sharpest part of a photograph first, controlling the depth of field is important for photographers creatively. When shooting portraits for example, photographers will often focus on the model's nearest eye, using the largest aperture (smallest ƒ-number) their lens has, to turn a busy background into beautiful bokeh.
Copyright @2022 Tom Replogle
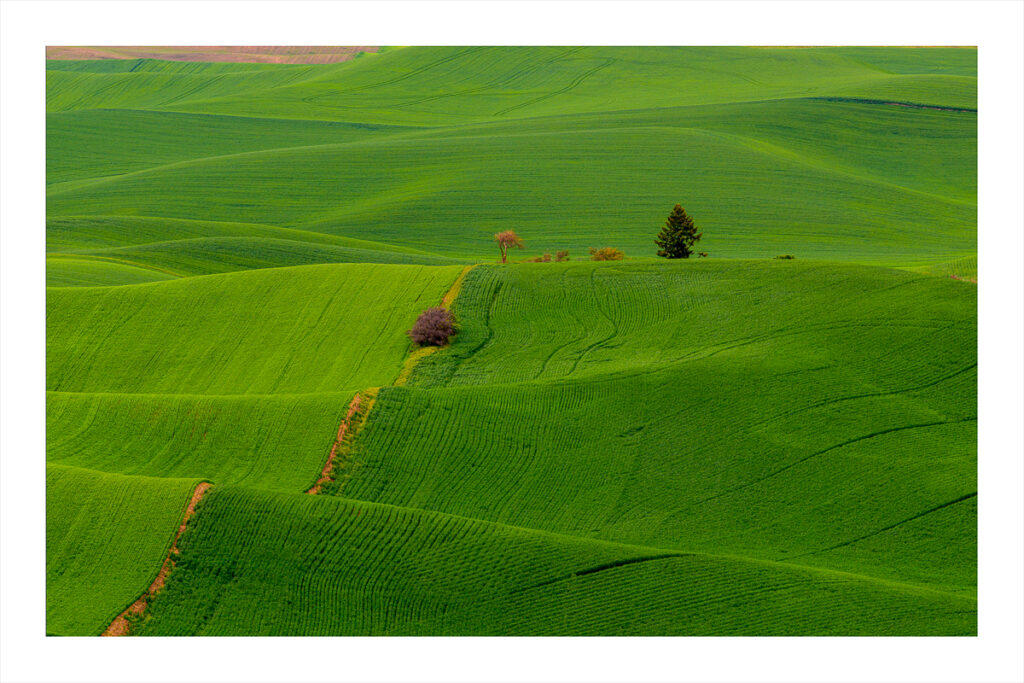
In landscape photography, on the other hand, we often want the greatest depth of field possible, so we'll "stop down" to a smaller aperture (larger f-number) and focus at the hyperfocal distance (article coming soon). This increases the depth of field so that it is sharp throughout the frame, or at least acceptably sharp. (Some example landscape photos can be seen here.) Be careful stopping down too much though, as a thing called diffraction starts creeping in and becomes more prevalent as the aperture size decreases. Diffraction is a topic for its own article, but in essence it causes the photo to become softer compared to wider apertures.
Copyright @2022 Tom Replogle
Well that's aperture in a nutshell. I hope this article helped clear things up a bit. If you have any questions or would like me to tackle a specific topic, leave a comment down below. Check out my YouTube channel for how-to videos on photography and more.
Happy shooting!
Related Images:

Most Recent Blog Posts
Understanding Aperture